Transforming wood surfaces with a beautiful, even finish is a rewarding part of any home improvement project, whether you’re refinishing furniture, updating cabinetry, or staining a new deck. Many DIY enthusiasts and homeowners seek methods that deliver professional-grade results without the mess and frustration of traditional brushes or rollers. For those searching for a way to achieve smoother, faster wood finishes, the Stain Pad Applicator has become an increasingly popular solution, promising efficiency and superior outcomes for a variety of projects.
Why Choose a Stain Pad Applicator?
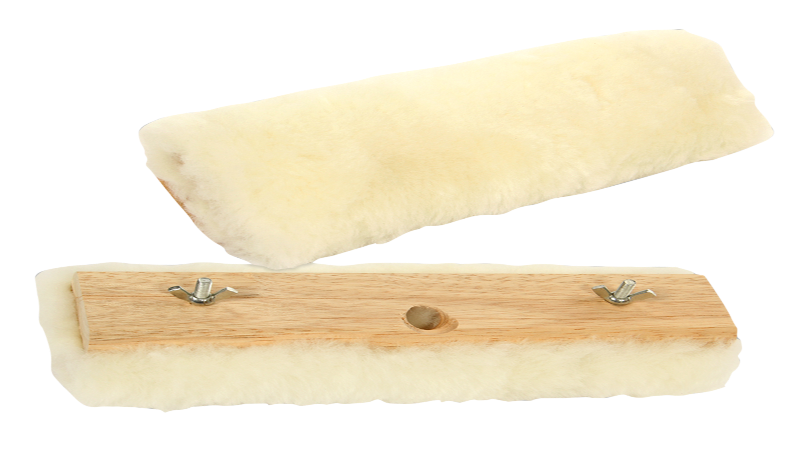
Traditional brushes and rollers can leave behind streaks, lint, and uneven coverage, often requiring extra coats or tedious touch-ups. In contrast, a stain pad applicator is specifically engineered to distribute stain evenly and penetrate wood pores more effectively. The soft, absorbent pad glides smoothly across surfaces, minimizing the risk of streaks and allowing for precise control, even on intricate moldings or corners.
Some key advantages of using a stain pad applicator include:
-
Even Application: The pad’s flat surface ensures the stain is applied uniformly, reducing blotches and lap marks.
-
Time Savings: Larger pads cover more area in less time, speeding up the finishing process on decks, furniture, and floors.
-
Reduced Mess: Unlike brushes that can splatter or drip, stain pads hold the stain securely, keeping your workspace cleaner.
-
Versatility: Suitable for both water-based and oil-based stains, these applicators work well on a range of wood types and projects.
How to Use a Stain Pad Applicator Effectively
Achieving professional results with a stain pad applicator requires just a few simple steps:
-
Preparation: Begin by sanding your wood surface smoothly and removing all dust with a tack cloth. Protect surrounding areas with drop cloths or painter’s tape.
-
Loading the Pad: Pour the stain into a tray and gently press the pad into the liquid, ensuring even absorption without oversaturating.
-
Application: Apply the stain in the direction of the wood grain, using long, smooth strokes. Overlap slightly to prevent missed spots, and avoid pressing too hard, which could cause pooling.
-
Edge Work: For corners or detailed areas, fold the pad slightly or use a smaller pad for better control.
-
Wipe Excess: After a few minutes, wipe away any excess stain with a clean lint-free cloth to prevent tacky buildup.
These steps not only help you achieve a flawless finish but also make the staining process more approachable for beginners and experienced DIYers alike.
Tips for Best Results
-
Always test your stain on a scrap piece of wood to check color and absorption.
-
Work in manageable sections, especially on large surfaces, to maintain a wet edge and avoid visible overlap lines.
-
Clean your pad immediately after use according to the stain manufacturer’s instructions to ensure it’s ready for future projects.
Enhance Your Next Project
Whether you’re revitalizing an old dresser, staining a backyard fence, or updating interior trim, using a stain pad applicator can dramatically improve your results. Its design simplifies the staining process, offering efficiency, precision, and a cleaner workspace. By following a few straightforward techniques, you’ll achieve the flawless, professional-looking finishes that elevate your home projects and showcase the natural beauty of wood. For anyone seeking a faster, more reliable way to stain wood surfaces, the stain pad applicator is a game-changer worth adding to your toolkit.